We believe the more you know about the excellent care we offer during your Mohs procedure, the more peace-of-mind you’ll have. To help you understand what takes place both in the surgical suite and behind-the-scenes during your procedure, we describe in detail each step we’ll take during your Mohs procedure. If you have any additional questions, please don’t hesitate to ask us!
Step 1 – Prep the Area

After confirming the biopsy site with you, the treatment area is cleansed, marked and injected with a local anesthetic. The Mohs surgeon removes visible cancer, along with a thin layer of additional tissue. This will take only a few minutes. Your wound is temporarily bandaged, and you relax while we process and examine the tissue.
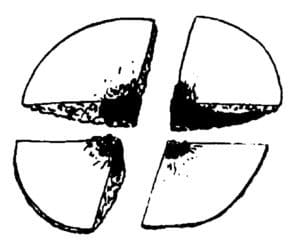
In our on-site Mohs lab, we cut the tissue sample into sections, then stain and mark it on a detailed diagram called a Mohs map.
We freeze the tissue sample on a cryostat and remove thin slices from the edge and undersurface. Then we stain the sample and examine it under a microscope. This is the most time-consuming portion of the procedure, often requiring an hour or more.
Step 2 – Remove the Cancer at the Root
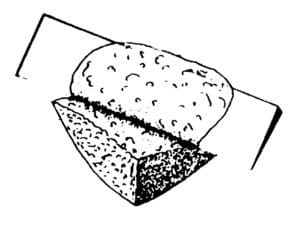
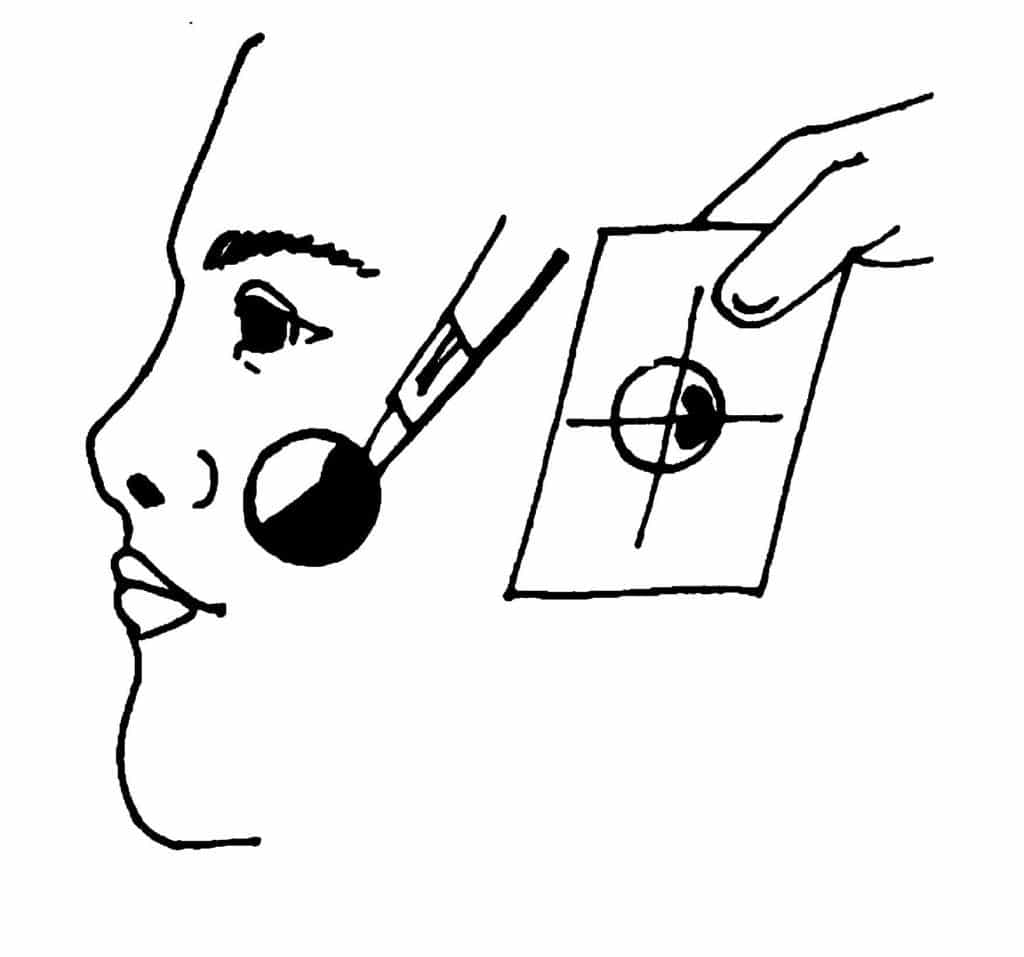
Sometimes, skin cancers have roots or extensions that aren’t visible from the surface. If the skin cancer that was visible during the first stage turns out to be “just the tip of the iceberg,” your Mohs surgeon will use the map to pinpoint any remaining cancer and use it to direct the removal of additional tissue. Additional tissue is removed only where cancer is present.
Step 3 – Repeat the Process (if necessary)
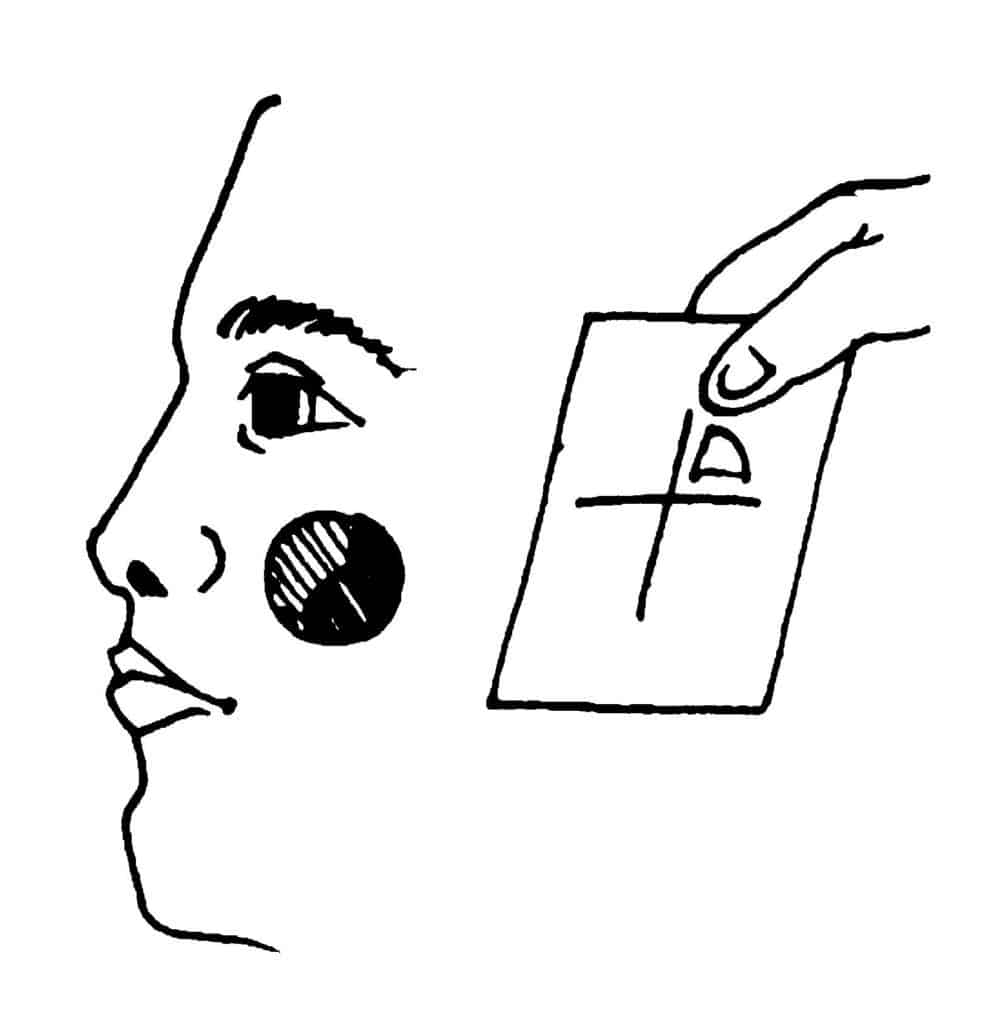
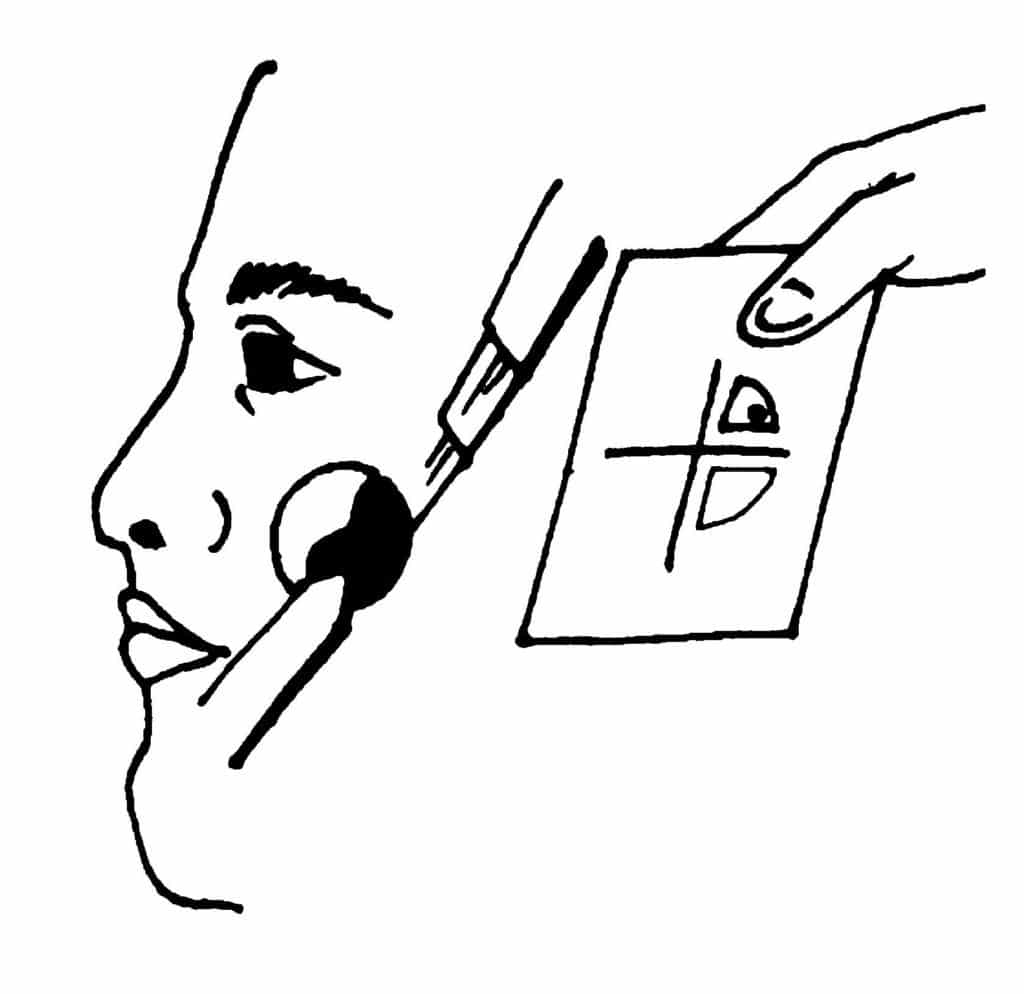
Your skin cancer surgeon will repeat this process through as many stages as necessary to locate and eliminate the cancer. Each time, we will inject additional anesthesia and take another thin margin of skin, precisely where the skin cancer cells are based upon the Mohs map. We repeat the process as many times as needed until there are no remaining skin cancer cells.
Step 4 – Repair
When microscopic examination shows that there is no remaining tumor, the surgical site is ready for repair. Your physician will discuss repair options with you, which can include natural healing or repairing with sutures. Repair options depend on the size and location of your wound; recommendations are made to optimize healing and restore function.
Frequently Asked Questions
Images courtesy of the American Society of Mohs Surgery, of which Dr. Prosise and Dr. Chen are Fellows. Additional information regarding the procedure can be found on their website.

